How to Set Up WD My Cloud as a Network Drive
If you’re tired of switching between external drives or struggling to access files on multiple devices, a WD My Cloud can simplify your life. This smart storage solution connects to your home network, letting you store and access files from anywhere in your home or even remotely. Setting up your WD My Cloud as a network drive isn’t hard, and once it’s done, you can enjoy the convenience of centralized file storage and sharing.
Let’s walk through the steps to get your WD My Cloud up and running as a network drive. I’ll keep things simple and explain everything in plain English so you can set it up without any confusion.
What You’ll Need
Before we dive in, make sure you have the following ready:
WD My Cloud device
A router or modem with an active internet connection
A computer (Windows or Mac) connected to the same network
WD Discovery software (optional but helpful)
Your WD My Cloud login credentials
Once you’ve gathered these, you’re ready to start the setup process.
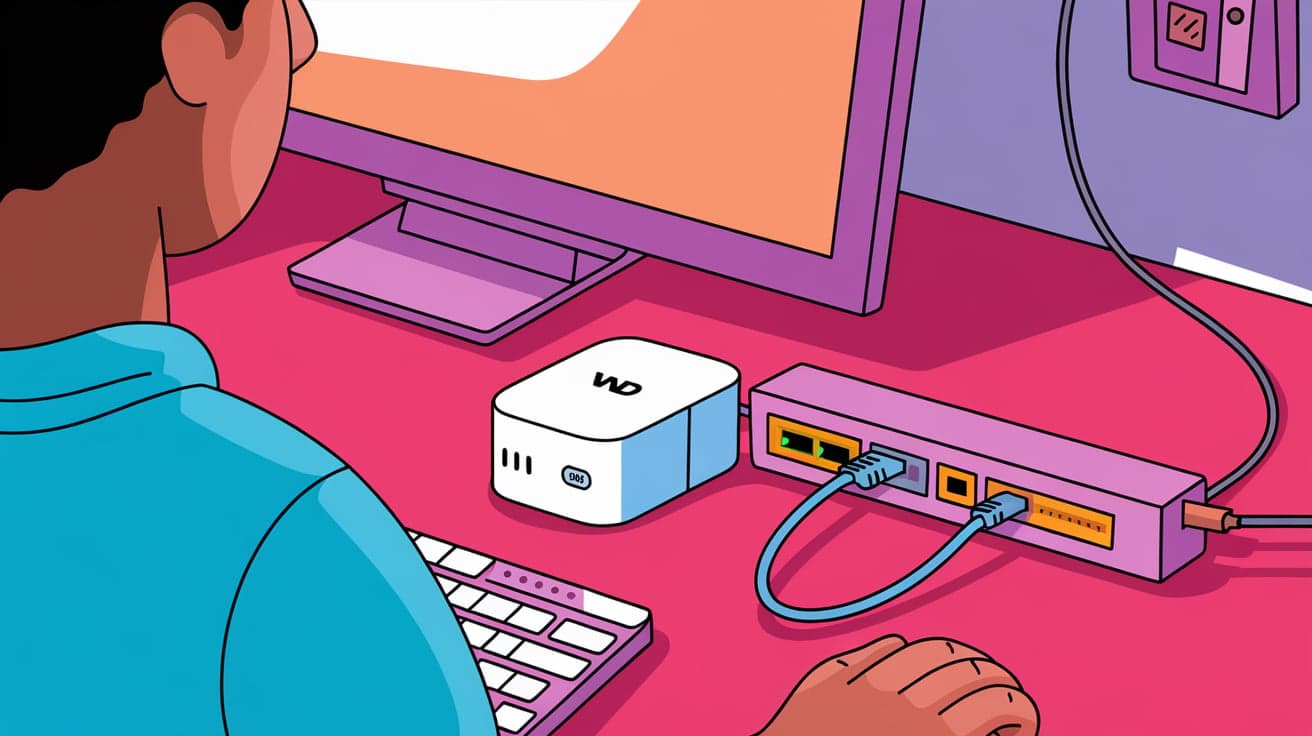
Step 1: Connect Your WD My Cloud to Your Network
The first step is physically connecting your WD My Cloud device to your network.
Plug in the Power: Use the power adapter to connect your WD My Cloud to a wall socket.
Connect to Your Router: Use an Ethernet cable to link the device to your router. You’ll see lights on the front of the device indicating it’s powered on and connected.
Give it a minute or two to boot up and connect to your network. You can proceed to the next step once the device is ready.
Step 2: Access the WD My Cloud Dashboard
The dashboard is where you’ll configure your device and manage its settings.
Find the Device: Open a web browser and type
http://wdmycloud.local(for Mac) or the device’s IP address (for Windows). You can find the IP address in your router’s connected devices list.Log In: Enter your username and password. If it’s your first time, use the default credentials provided in the device’s manual.
Once logged in, you’ll see the dashboard, where you can customize settings, set up users, and manage storage.
Step 3: Enable File Sharing
To use the WD My Cloud as a network drive, you’ll need to enable file sharing:
Go to Settings: In the dashboard, click on the Settings tab.
Enable Network Discovery: Make sure your My Cloud is discoverable on your local network.
Turn On SMB (Server Message Block): Under the Network Services section, ensure SMB is enabled. This protocol allows your computer to communicate with the My Cloud device.
This step ensures that your computer can detect and access the My Cloud device as a network drive.
Step 4: Map WD My Cloud as a Network Drive (Windows)
Mapping the My Cloud as a network drive on Windows makes it easy to access and manage files. Here’s how:
Open File Explorer: Press
Win + Eto open File Explorer.Select ‘Map Network Drive’: Click on the This PC section, then select the Map Network Drive option in the toolbar.
Choose a Drive Letter: Pick a drive letter (e.g., Z:) for the My Cloud device.
Enter the Network Path: In the folder field, type the network path for your My Cloud device. This is usually
\\[Device Name]\[Shared Folder], such as\\WDMyCloud\Public.Log In: If prompted, enter your My Cloud credentials.
Click Finish, and the My Cloud device will appear under This PC, just like a regular drive.
Step 5: Map WD My Cloud as a Network Drive (Mac)
If you’re using a Mac, the process is slightly different:
Open Finder: Click on the Finder icon in your dock.
Connect to Server: Press
Command + Kor select Go > Connect to Server from the Finder menu.Enter the Network Path: Type the path for your My Cloud device. For example,
smb://[Device Name]/[Shared Folder], such assmb://WDMyCloud/Public.Log In: Enter your My Cloud username and password when prompted.
Add to Favorites: To make it easier to access later, check the box to remember the connection and add it to your favorites.
Your My Cloud device will now appear under Locations in Finder.
Step 6: Access Files and Folders
Congratulations! You’ve set up your WD My Cloud as a network drive. You can now:
Drag and drop files between your computer and My Cloud.
Create folders to organize your data.
Access your files from multiple devices connected to the network.
If you’ve enabled remote access in the My Cloud dashboard, you can even access your files from outside your home network.
Tips for Using WD My Cloud
Create User Accounts: Set up user accounts for family members or colleagues so everyone has their own private space.
Backup Your Data: Use the My Cloud software or your operating system’s backup tools to regularly back up your important files.
Monitor Storage: Check the dashboard occasionally to ensure you have enough free space.
Conclusion
Setting up your WD My Cloud as a network drive is a straightforward process that can save you time and simplify file management. Once configured, you’ll have a centralized hub for storing, sharing, and accessing files from any device on your network.
Whether you’re working from home, managing a small business, or simply organizing personal files, this setup offers convenience, security, and flexibility. Now that you’ve completed the steps, enjoy the ease of having your own personal cloud storage!
FAQs
How do I find my WD My Cloud on the network?
You can locate your WD My Cloud by typing http://wdmycloud.local (for Mac) or checking your router’s connected devices list for its IP address.
Why can’t I access my WD My Cloud?
Check if your device is properly connected to the router and powered on. Also, ensure that SMB is enabled in the dashboard under network settings.
Can I access WD My Cloud remotely?
Yes, you can enable remote access through the My Cloud dashboard. This lets you access your files from anywhere using the My Cloud mobile app or web portal.
What is the default username and password for WD My Cloud?
The default credentials are usually provided in the device’s manual. For most devices, the default username is “admin,” and the password is blank. Make sure to change these for security.
Do I need internet access to use WD My Cloud?
You don’t need internet access to use it as a local network drive. However, internet access is required for remote access and certain features.